Have you ever wondered how to transform your digital designs into tangible objects? The world of 3D printing offers this capability and much more. As an individual new to this innovative technology, it can seem both fascinating and daunting. My goal is to demystify the process and help you, step by step, from setting up your 3D printer to completing your very first print.
Understanding 3D Printing
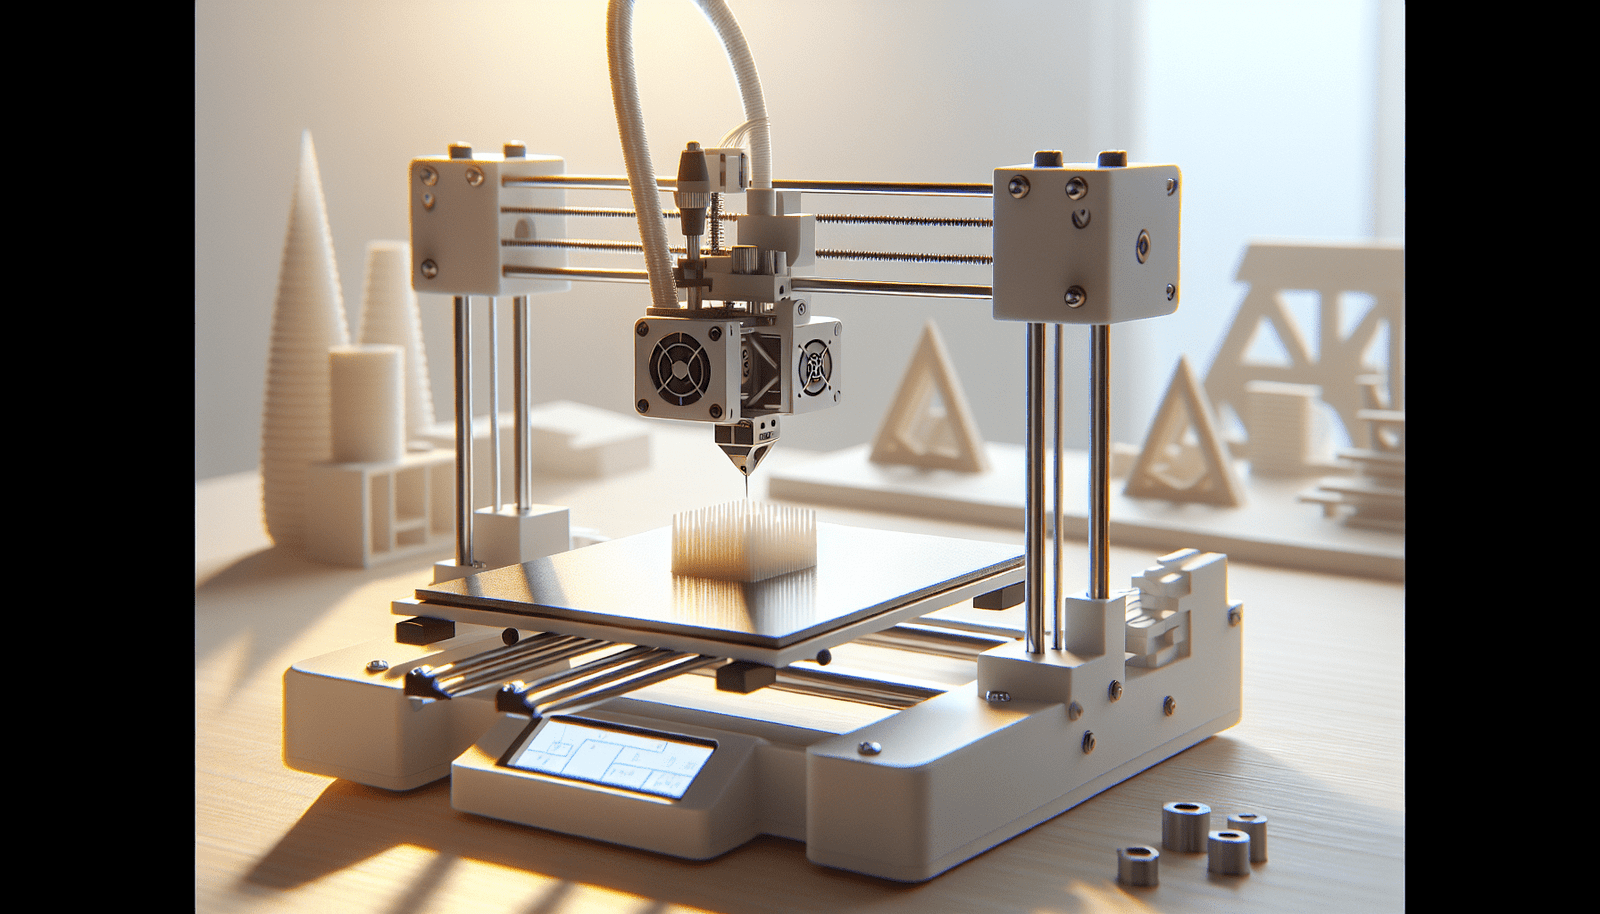
3D printing, also known as additive manufacturing, involves creating a three-dimensional object from a digital file. The printer deposits material in successive layers, forming a shape based on the file provided. This technology has several applications in industries ranging from medical manufacturing to aerospace and even fashion. However, as a beginner, our focus will be on understanding the basics and making your first print successful.
Choosing the Right 3D Printer
The market offers a variety of 3D printers, each with different specifications and capabilities. Here, I will break down the key factors to consider when selecting a 3D printer for beginners:
Types of 3D Printers
There are several types of 3D printers, but the most commonly used by beginners are FDM (Fused Deposition Modeling) and SLA (Stereolithography).
- FDM Printers: These printers use a thermoplastic filament which is heated and extruded layer by layer. They are generally more affordable and easier to use.
- SLA Printers: These printers use a photopolymer resin cured by a UV laser layer by layer. SLA printers offer higher resolution prints but are typically more expensive and involve more complex post-processing.
Key Specifications to Consider
When selecting your 3D printer, make sure to evaluate the following specifications:
| Feature | Importance |
|---|---|
| Build Volume | Determines the maximum size of the object you can print. |
| Layer Resolution | Affects the smoothness and detail of the printed object. Lower resolutions are finer. |
| Print Speed | Faster speeds reduce print times but may affect quality. |
| Filament Compatibility | Ensure the printer supports commonly used filaments like PLA and ABS. |
| Connectivity Options | Includes USB, SD card, and WiFi. Choose based on your convenience. |
Setting Up Your 3D Printer
Once you have selected your 3D printer, the next step is to set it up correctly.
Unboxing and Assembly
Some printers come fully assembled, while others are partially assembled or in kits. Follow the manufacturer’s instructions meticulously to avoid any errors. Ensure all components are intact and place your printer on a stable, vibration-free surface.
Calibration and Bed Leveling
Proper calibration and bed leveling are crucial for successful prints. Most modern printers come with auto-leveling features, but if yours does not, you may need to manually adjust the bed. Check that the print bed is perfectly level and the nozzle is at the correct distance from the bed.
Firmware Update
Make sure your 3D printer firmware is up to date. Manufacturers often release firmware updates that improve performance and fix bugs. Refer to your printer’s user manual for specific update instructions.
Preparing Digital Models
To print an object, you first need a 3D model. This can be either designed from scratch using CAD software or downloaded from various online repositories like Thingiverse or MyMiniFactory.
Basic CAD Software for Beginners
Here are some user-friendly CAD software options for beginners:
| Software | Features |
|---|---|
| Tinkercad | Web-based and very intuitive. Ideal for beginners. |
| Fusion 360 | More advanced but offers powerful design tools. Free for personal use. |
| SketchUp | Easy to use and navigate. Ideal for basic designs. |
Downloading Ready-Made Models
If you prefer not to design your own models initially, numerous online libraries offer pre-made models. Ensure the files you download are compatible with your 3D printer and check for any user reviews or ratings to avoid print issues.
Slicing the Model
Once you have your 3D model, you need to use slicing software, which converts the digital model into instructions your printer can understand.
Popular Slicing Software
Several slicing software options are available, and many are free:
- Cura: Developed by Ultimaker, Cura is one of the most popular and user-friendly slicing software. It supports many different 3D printer models and is ideal for beginners.
- PrusaSlicer: Created by Prusa Research, this slicer is known for its robust features and is great for both FDM and SLA printing.
- Simplify3D: A paid slicing software that offers advanced features and greater control over print settings.
Key Settings in Slicing Software
Understanding the basic settings in your slicing software will significantly impact your print quality:
- Layer Height: Determines the thickness of each layer. Thinner layers yield higher detail but increase print time.
- Infill Density: The amount of internal structure within your print. Higher infill results in stronger prints but consumes more material.
- Print Speed: While faster speeds save time, they can compromise print quality.
- Supports: Structures that support overhanging parts of your print. Necessary for complex models.
Generating G-code
After configuring your settings, the slicing software will generate G-code, which is sent to your 3D printer. This code contains all the instructions your printer needs, such as movement paths, temperatures, and speeds.
Printing Your First Object
With your 3D model sliced and your printer set up, it’s time to start your first print.
Loading the Filament
Begin by loading the filament into the printer’s extruder. Follow the manufacturer’s instructions to thread the filament through the extruder and into the nozzle. Ensure the filament is inserted properly to avoid clogging.
Preheating the Printer
Most 3D printers require preheating of the nozzle and bed to specific temperatures based on the filament used. PLA, for example, typically requires a nozzle temperature of 180-220°C and a bed temperature of 60-70°C.
Starting the Print
With the filament loaded and the printer preheated, you can start the print by sending the G-code to the printer. This is done via USB, SD card, or WiFi, depending on your printer’s capabilities.
Monitoring the Print
It’s essential to monitor your print, especially the first layer. The initial layer sets the foundation for the entire print. Watch for any signs of issues such as warping, layer shifting, or filament extrusion problems. Many printers have a built-in run-out sensor to pause the print if the filament runs out.
Post-Processing the Printed Object
After the print is complete, there are often necessary post-processing steps to finish your object.
Removing the Print
Carefully remove your printed object from the print bed. Use a spatula or a similar tool to gently pry the object without damaging it or the bed. Some print beds are flexible, which helps make this process easier.
Removing Supports
If you used support structures, they need to be removed carefully. Depending on the type, you might need pliers, a knife, or special tools provided by your printer’s manufacturer. Be gentle to avoid damaging your print.
Sanding and Smoothing
For a smoother finish, you can sand your print. Start with a coarser grit and gradually use finer grits. Ensure the object has cooled down completely before sanding to avoid deforming the print.
Painting and Coating
If desired, you can paint your object. Use acrylic paints as they adhere well to most 3D printed materials. For extra durability or a glossy finish, consider applying a clear coat.
Troubleshooting Common Issues
As a beginner, it’s common to encounter issues during your 3D printing journey. Here are some frequent problems and their solutions:
Warping
Warping occurs when the base of the printed object lifts off the print bed. To prevent this:
- Ensure the print bed is level.
- Use adhesion aids like glue sticks or build plates.
- Adjust the bed temperature.
Layer Shifting
Layer shifting happens when layers are misaligned. Solutions include:
- Tightening the belts.
- Ensuring the print bed is secure and stable.
- Reducing print speed.
Stringing
Stringing results in thin strands of filament between parts of the print. To minimize:
- Adjust the retraction settings in your slicer.
- Ensure the nozzle temperature is not too high.
Scaling Up: Advanced Tips
Once you’re comfortable with basic 3D printing, you might want to explore more advanced techniques and improvements.
Dual Extrusion
Dual extrusion printers use two filaments, allowing for multi-color prints or using a different material for supports. This opens up more complex and aesthetically pleasing designs.
Upgrading Hardware
You might consider upgrading components of your 3D printer, such as replacing the nozzle for finer printing, installing a more stable print bed, or adding an enclosure to maintain consistent ambient temperature.
Exploring Different Materials
PLA is great for beginners, but other materials like ABS, PETG, and flexible filaments offer unique properties for specific applications. Research the material’s requirements and adjust your settings accordingly.
Conclusion
Embarking on your 3D printing journey offers endless possibilities for creativity, problem-solving, and innovation. By carefully selecting the right printer, setting it up correctly, preparing and slicing your models, and troubleshooting common issues, you will be well on your way to transforming digital designs into tangible objects. Remember, practice and patience are key. With time, you will not only gain confidence but also possibly inspire others to join the fascinating world of 3D printing.